Scroll down to skip the sermon and see the photos!
The delivery of the Fisticuff had a couple surprises.
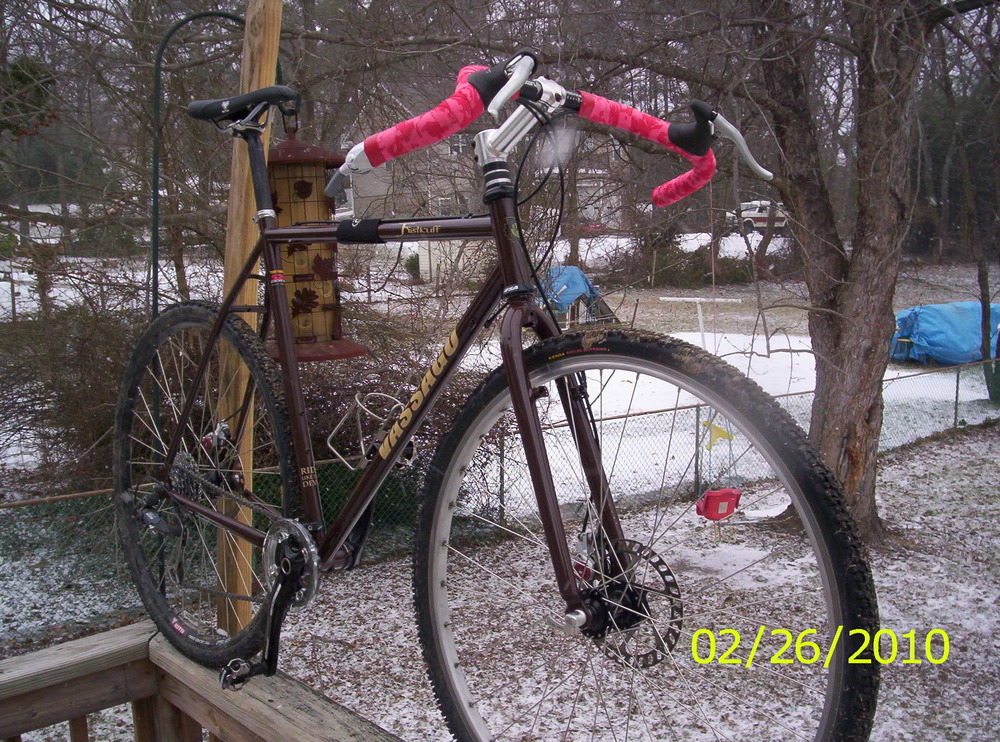
- Frame and fork are NICE! I love the Snickers Brown paint. Man, is that fork's steerer long!
- As expected, packaging was secure and top notch. A hard cardboard tube was inserted into the frame's steerer tube. Abby and Joe had a ball popping the giant bubble wrap bike bag;-)
- Not expected..
- Surprise, free schwag! Vassago threw in a free pint glass.
- Vassago also threw in a 30.0 aluminum Vassago seat post clamp. I had ordered a stainless Surly clamp so I used that one in the build instead.
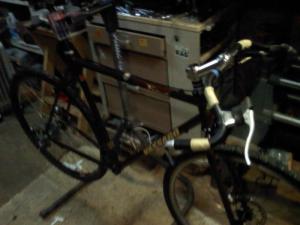
Wrenched from about 8:30 to 1:00 last night. Man, was the wind whipping out there. Flutters and chirps resounded nearby where a few thousand black birds were roosting in a stand of bamboo in the neighbor's yard. Luckily no mighty oaks fell on the shed and no Alfred Hitchcock bird attacks ensued. So, lemme tell you about the build!
You may enjoy my headset press photo... hammer, vise, and 2X4 scraps. The hard cardboard tube Vassago used for packaging I cut to length and left inside the steerer for the first cup's pounding in. This added a little protection and peace of mind, though it wasn't really necessary. Plenty of grease and a couple of whicketty whacks with the old hammer. Just like Colt 45, it works every time.
Build details and nits to pick...
- Slapped on the Surly stainless clamp, Ritchey Pro seatpost, and $16 Nashbar WTB Shadow saddle first.
- Then I pounded in the FSA Orbit headset and loosely mounted the fork with uncut steerer.
- Next I threw the wheels on.
- Front - 36H Real front disc hub (Real nice!!) laced to a used 32H Salsa Delgado Cross rim with used spokes.
- Rear - 8 speed Deore Disc WTB Speed Disc. Heavy!!!
- Next I experimented with stem/bar setups. I tried out two different stem combinations before settling on the 120mm 20 degree rise piece of crap stem off my brother in law's old Diamondback MTB. Used every 1 1/8" spacer I had on hand. I measured thrice and cut once on steerer tube. Pipe cutter did the job nicely. While filing down the sharp edge after cutting steerer I slipped and put the first scratch on the frame right on the top tube...d'oh!
- FSA Conix instead of a star nut and top cap. Kinda like StoveTop Stuffing instead of potatoes.
- Then I moved on to the 8 speed Ultegra barend shifter. Note to self: At dis-assembly time, remember that the bar end shifter internal clamp mechanism has reverse threading. The shifter housing that came with it wasn't long enough for the Origin 8 Gary dirt drop bars but that wasn't a problem because I had extra housing on hand. I ran the housing to the left hand cable stop because there seemed to be less bending and twisting of the cable that way. No left hand shifter needed, sister! This is gonna be a 1X8.
- Next I flipped the frame over a hit a barrier! The frame didn't come with a derailleur cable guide on the bottom bracket. Luckily I had the right one in the parts bin so I bolted it on and moved forward.
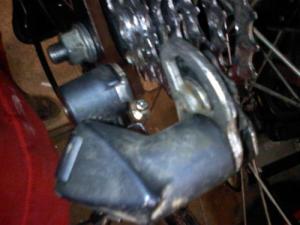
- Rear LX Derailleur was next. Another obstacle! I'd read in an MTBR forum that the derailleur hanger on the Fisti didn't line up properly with a derailleur's B adjustment screw and wondered if I'd have that problem. Indeed I did. The solution was to mount the B adjustment screw into the derailleur backwards so that the screw head could make contact with the frame's hanger (see pic).
- Derailleur cable was just long enough to have an inch or so sticking out, phew!
- Brake time...Shimano 105 short reach road levers are perfect for the dirt drop bars.
- Let's move onto front brake. Avid BB7 Road disc. More obstacles:
- Slightly used from Ebay and a slightly out of true rotor. Crescent wrench truing job fixed that problem quickly.
- One of the spokes was bonking against the inner brake pad adjustment knob. Oh crap, I didn't lace that spoke underneath on the third cross when I built the wheel. Got out the spoke wrench and re-laced it correctly. Problem solved.
- Now the problem is that the spring tension isn't enough to retract the cable back to default position after braking. I'm using new housing but an old cable. So I pulled her apart and finger conditioned the cable with lots of TriFlow and that did the trick.
- No brake cable guides are on the fork so I ran a zip tie through the emtpy left canti-boss hole to keep the housing far enough away from moving parts.
- Back brake next. Ebay Avid BB7 Road disc again.
- Thankfully the rear rotor was true.
- 4 nits to pick!
- I'd read in Duckman's blog that the frame doesn't have top tube cable stops. It has 4 housing guides. 2 on the toptube, and 2 on the seat stay. The frame could really use one more housing guide in the center of the top tube because I can envision it rattling like hell on every ride. I solved this issue by wrapping a piece of an old Lizard Skins neoprene suspension fork boot around the housing and toptube to hold her tight. This will undoubtedly slide around during CX shouldering run ups..oh well;-(
- Having to run full housing makes for more overall cable/housing friction so again I had to TriFlow the hell out of the cable and housing. I also had to max out the caliper's spring tension so that the brake cable could retract all the way back to default position after squeezing the brake.
- Vassago claims that the rear wheel can be removed/mounted in the drops without having to fiddle with the disc caliper mounts. I'd read in posts that 140mm rotors were a problem in this arena and I thought I'd be fine with a 165mm. Sadly, for Avid BB7 road calipers this claim is NOT true! I had to remove the bottom brake mount bolt from the frame and swing the caliper up and out of the way to get the wheel in the drops. This will be an unpleasant ritual every time I have to change a flat;-(
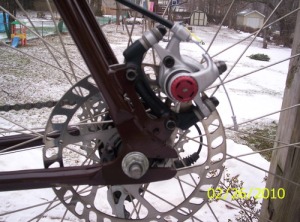
- I'd also read online that the frame's rear disc mount did not have slotted holes to allow you to slide the caliper forward and back like my Surly 1X1 does. Indeed, it does not;-( Vassago rear disc tabs only allow you mount the caliper in one fixed position. I also found that in order for the disc brake to work properly the axle pretty much has to be pushed as far into the drop outs as it can go. This is fine if you're running gears (I suppose it's also nice if you have an axle with a skewer..which I don't). But the problems this creates are twofold:
- Since the axle wants to be all the way forward in the drops to run disc brake, you can't slide the axle back in the dropouts to get a little more tire clearance between the seat tube and seat stays if you were attempting to throw a skinny 29er tire on.
- When I go to run a single speed wheel I'll have to mess around with a half-link and pray that I can get the right chain tension for a magic gear if I want to run a disc brake. Otherwise I'll have to mount a cantilever or V-brake instead. Mounting a V-brake will be effective, I'm sure, but will be a minor hassle because I'll have to have a shorter cable, and I'll have to cut the housing near the handlebar and introduce a housing-coupler-with-built-in-barrel-adjuster. I'll also need a road lever to V-brake Problem Solver cam to to solve the lever issue but I already have one of those;-) Note: This won't matter one bit when I run her fixed gear, beeotch!
- Almost done! We're in the home stretch.
- Threw a Salsa stainless bottle cage on. I thought about mounting a pair of pink cages I got for $1 each at the bike swap but decided against it. They'll make their debut on the first really long ride;-)
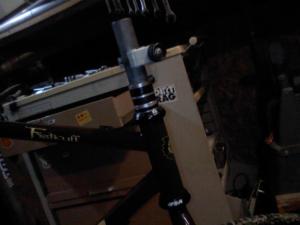
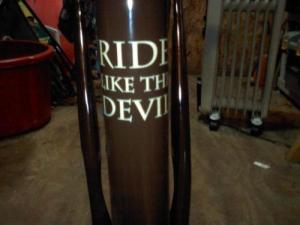
- Then I loosely mounted the NGear Jump Stop on the seat tube. I was very happy that it didn't cover up the "RIDE LIKE THE DEVIL" decal;-0
- Warranty replacement cranks-FSA V-Drive SS 180mm 32T with poly bash ring went on next. I broke the spindle on my last pair riding Nacho Mama's fixed too many times on the Surly. We'll see how they hold up on the Fisti!?!?!? Moreover, I hate external bearing cranks because I end up replacing the BB every 6 months;-(
- Sized up and mounted the KMC Z-Chain next.
- Shimano 520 SPD pedals from the swap;-) More mud/snow clearance than the 505's I had on hand, thank you!
- Set the high and low derailleur stop points so that the 11-32 SRAM cassette would throw her chain;-)
- Cinched up the NGear Jump Stop a hair's breath from the inner plates of chain.
- Then Jen calls me on my cell phone warning me that I better come inside before a tree blows down and crushes me and my Fisti to death under shed shrapnel;-0 But I'm almost finished....
- I hastily wrapped the bars with the $2 pink camouflage Profile tape I got at the bike swap. Schweet color scheme...pink and brown, baby!
- Done, baby, done!
- Turned off the shed radio.
- Cut off the shed heater. MOST IMPORTANT STEP!!!!
- Hit the lights and locked up.
- Carried the bike inside and ogled her in the kitchen for 20 minutes or so.
- Zzzzzzz................................
- Morning
- "Wake up, Daddy!"
- Coffee.
- A few Fisticuff snapshots on the deck.
- Official Fisticuff bathroom scale weight = 26.0 lb! Whoa, how did Duckman get his to come out a whole 6 lb lighter than mine?!?!?!?
- Can't wait for the virgin ride!!!!! Will post findings later;-)


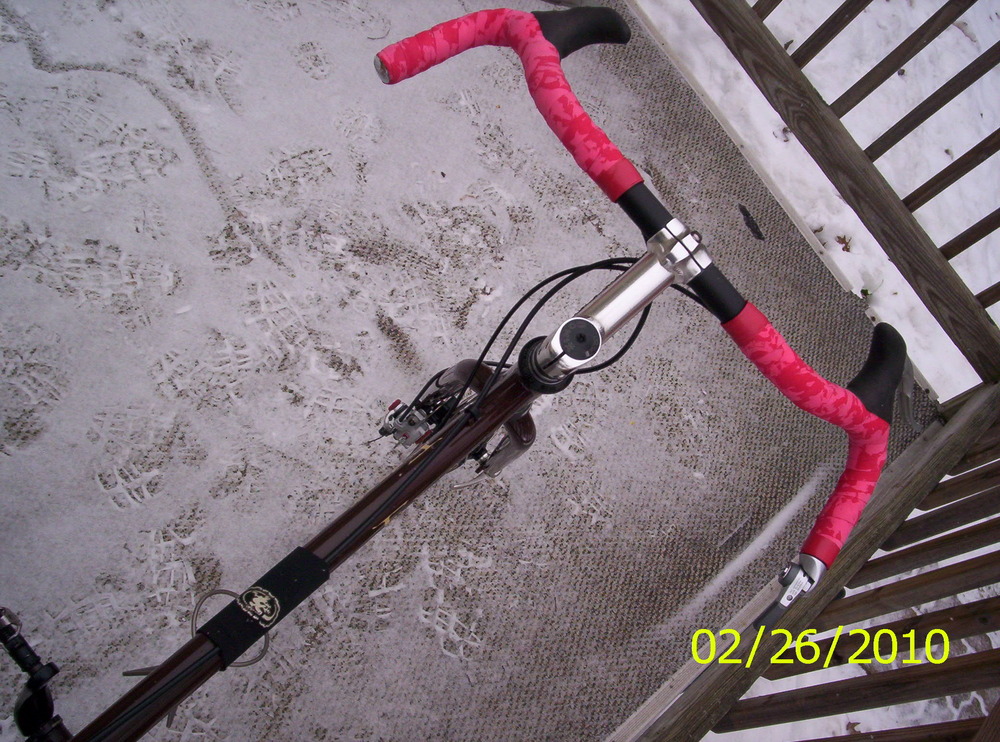


the pink grip tape makes the entire bike pop!
ReplyDeletelike the bike, but the setup sounds like a comedy of frame building errors. I think I will remove this one from my short list of steel cross bikes. Flipping the Derailleur scroll to make it work is just bad design. And no slots for the brakes is just lame. Sweet bike BILL BLANDFORD.
ReplyDelete@daveism...Maybe the 2010 frame will fix the b-adjust and disc tab slots problems. i'm not very unhappy about the b-adjust issue b/c the backwards screw works fine. the lack of disc tab slots is more upsetting but the v-brake workaround is the perfect solution to that. another thing that could help with some slidability for disc would be to add spacers where the caliper mounts to the rear IS adapter.
ReplyDeleteComplaint about the lack of disc slots http://forums.mtbr.com/showthread.php?t=488655Complaint about B-tension screw http://forums.roadbikereview.com/showthread.php?t=168617
ReplyDelete